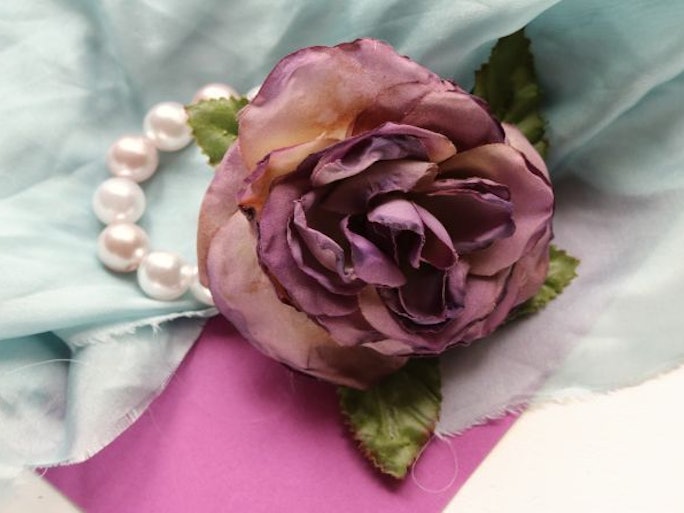
It's no secret that attending your high school prom can be memorable, exciting, and downright expensive. The tickets, the dress, the limo... that's just the beginning. In the midst of all this, have you considered making your own DIY prom corsage?

Sure, it might seem like something to leave to the professionals. But it's also another expense to add to the list. You're going to want to save that cash for college, guys.
Luckily, making your own corsage doesn't have to be rocket science. It also doesn't need to be anything elaborate. Otherwise, it might take away from the awesomeness of your prom dress. By creating a DIY corsage, you choose what suits your taste and personality. Did I mention that you'll save dough?
This project features supplies that can be found at your local craft store. I used a faux flower, but you can certainly use fresh foliage. The steps focus on an extremely basic technique, making it a beginner-friendly project. NoProject Runway challenges here, promise.
This DIY corsage will set you back no more than $10 to $15. It’s ideal for simple ladies who want to focus on the real value of prom night: memories, friends, and good times.

Supplies:
- Faux flower
- Felt
- Large pearl beads
- Stretchy string
- Scissors
- Hot glue
- Felt
- Large pearl beads
- Stretchy string
- Scissors
- Hot glue
If you'd like to use a real flower, go right ahead! Don't forget to buy a few extras, just to be safe. Real flowers are more fragile than fake ones. This way, you'll have backups.

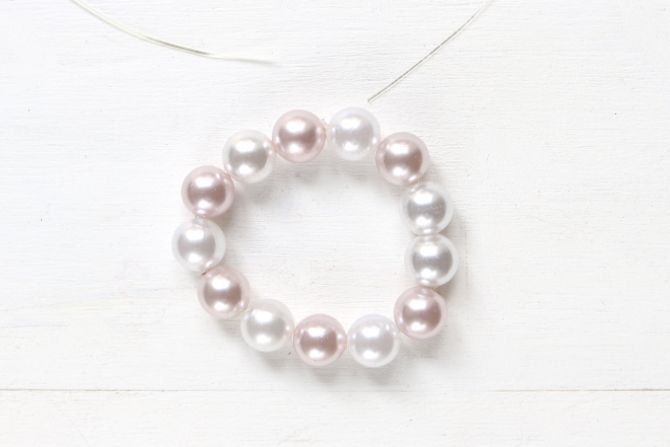
1. Cut a long strand of stretchy string and tie a tight triple knot. Add pearl beads to the string. Continue until the beaded portion is long enough to comfortably wrap around your wrist.
Not feeling the pearl beads? You can also use crystal or metal beads, depending on your style.

2. Tie the ends of the string together to close up the bracelet.

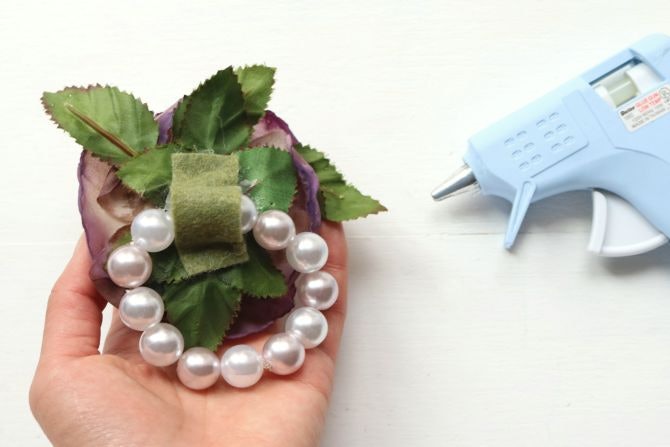
3. Cut a rectangular piece of felt. The width should equal the span of three pearl beads.

4. Place the pearl bracelet against the back side of the flower. Hot glue each end of the felt to flower, sandwiching the bracelet in between.

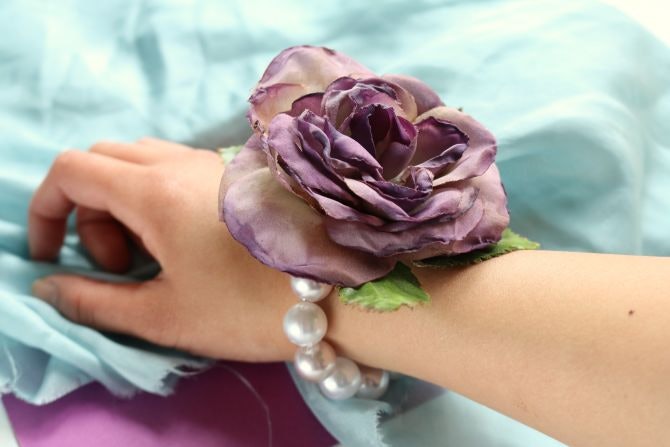
And just like that, you have a flower corsage. Wasn't that easy?

If you're looking for a little more oomph, try bringing in different kinds of foliage. Here, I added (real) baby's breath for a full, spring-friendly look.
If you prefer a cluster of small flowers instead of a single big one, start off with a felt circle. Hot glue the flowers to this piece, and attach the bracelet to the back of it. Done and done.

No comments:
Post a Comment